|
|
#1 |
|
Участник
|
powerobjects: Printing from Dynamics 365 for Finance and Operations
Источник: https://www.powerobjects.com/2018/02...nd-operations/
==============  The ability to print transactions and reports is a simple but critical aspect of user experience and productivity. Regardless of industry vertical, a common business expectation is to have a hosted ERP application configured in the Cloud. As transactions are being performed, they need to be reported, shared, and printed between stakeholders and decision makers. Users trying to print documents on network devices from hosted applications often face challenges such as print drivers that might incompatible or not available on their device. In some cases, the user’s device might not be connected or able to connect to the corporate network due to infrastructure constraints. In Microsoft Dynamics 365 for Finance and Operations, you can seamlessly print documents from a local or network-connected printer device as long as it provides integrated services supporting an HTML5 client and uses hosted client applications with Microsoft Office 365 services. This makes it easy to generate, store, and distribute documents. You can print documents and export reports directly from the client as PDF files or Microsoft Office documents. In this blog, we’ll explain how printers are installed and configured to print documents. Dynamics 365 for Finance and Operations offers a downloadable embedded application, known as Document Routing Agent (DRA) that you can use to enable network printing scenarios. DRA manages the spooling of the documents and can access both local and network printers that are connected to the computer running the Dynamics 365 for Finance and Operations application in the Cloud. Here are a few pre-requisites for configuring the Document Routing Agent:
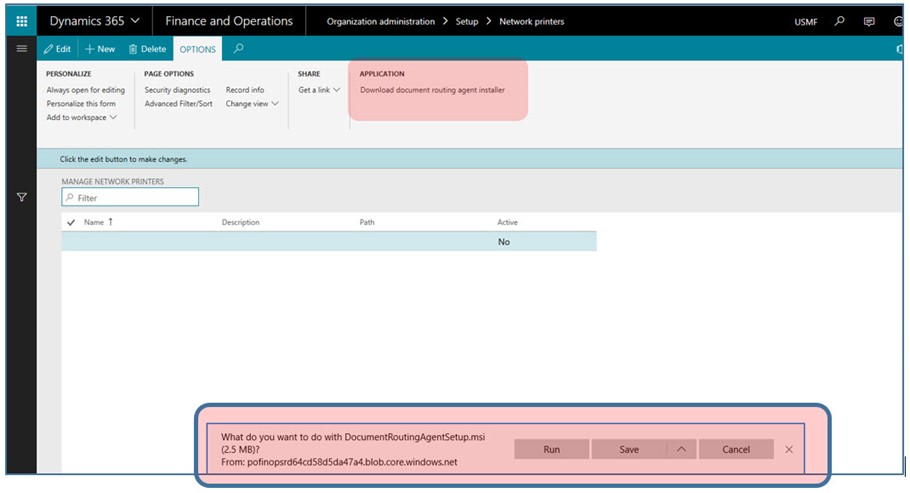
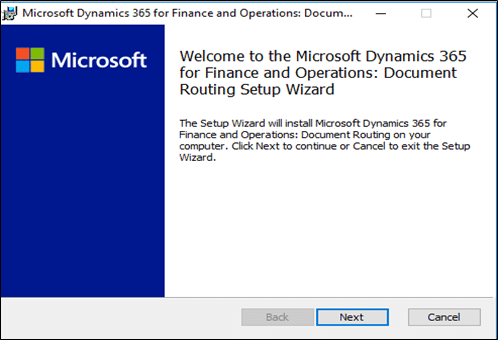
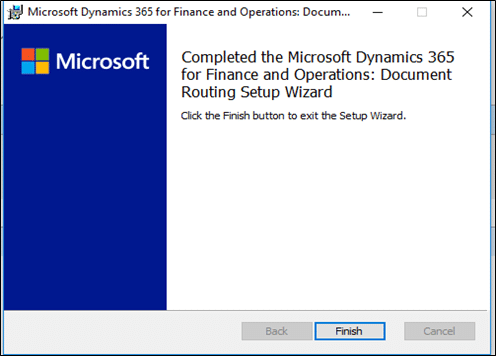
1. Open the Manage network printers page (Organization administration > Setup > Network printers). 2. On the Options tab, in the Application group, click Download document routing agent installer. Run the downloaded file to begin the installation process.  3. Complete the setup process.    After the application is installed, you can begin to register local printers as network printers for the Finance and Operations applications. 4. Close all browser instances that are running the Finance and Operations application. This resets the local Azure authentication tokens. 5. On your desktop, run the Document Routing Agent. On the toolbar, click Settings.  6. Update following parameters:
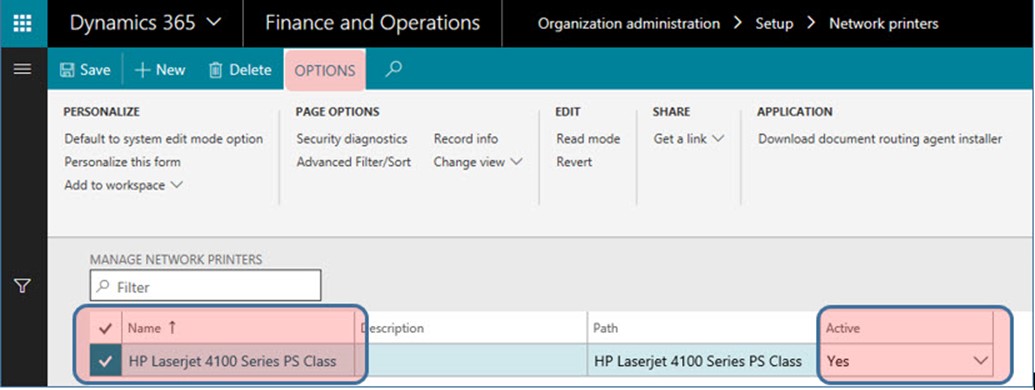
 8. Click Sign in to sign in to your account. Once successfully signed in, the Printers button becomes available on the toolbar. 9. On the toolbar, click Printers. 10. Select the printers to make available in the Finance and Operations applications.  11. Specify a default name for the printer. 12. Click OK. The selected printer devices will be registered in the Finance and Operations application. To complete the print job, the registered network printer needs to be marked Active and it can be done by following the below steps:

Happy Dynamics 365’ing! Источник: https://www.powerobjects.com/2018/02...nd-operations/
__________________
Расскажите о новых и интересных блогах по Microsoft Dynamics, напишите личное сообщение администратору. |
|
|
|
|
| Опции темы | Поиск в этой теме |
| Опции просмотра | |
|